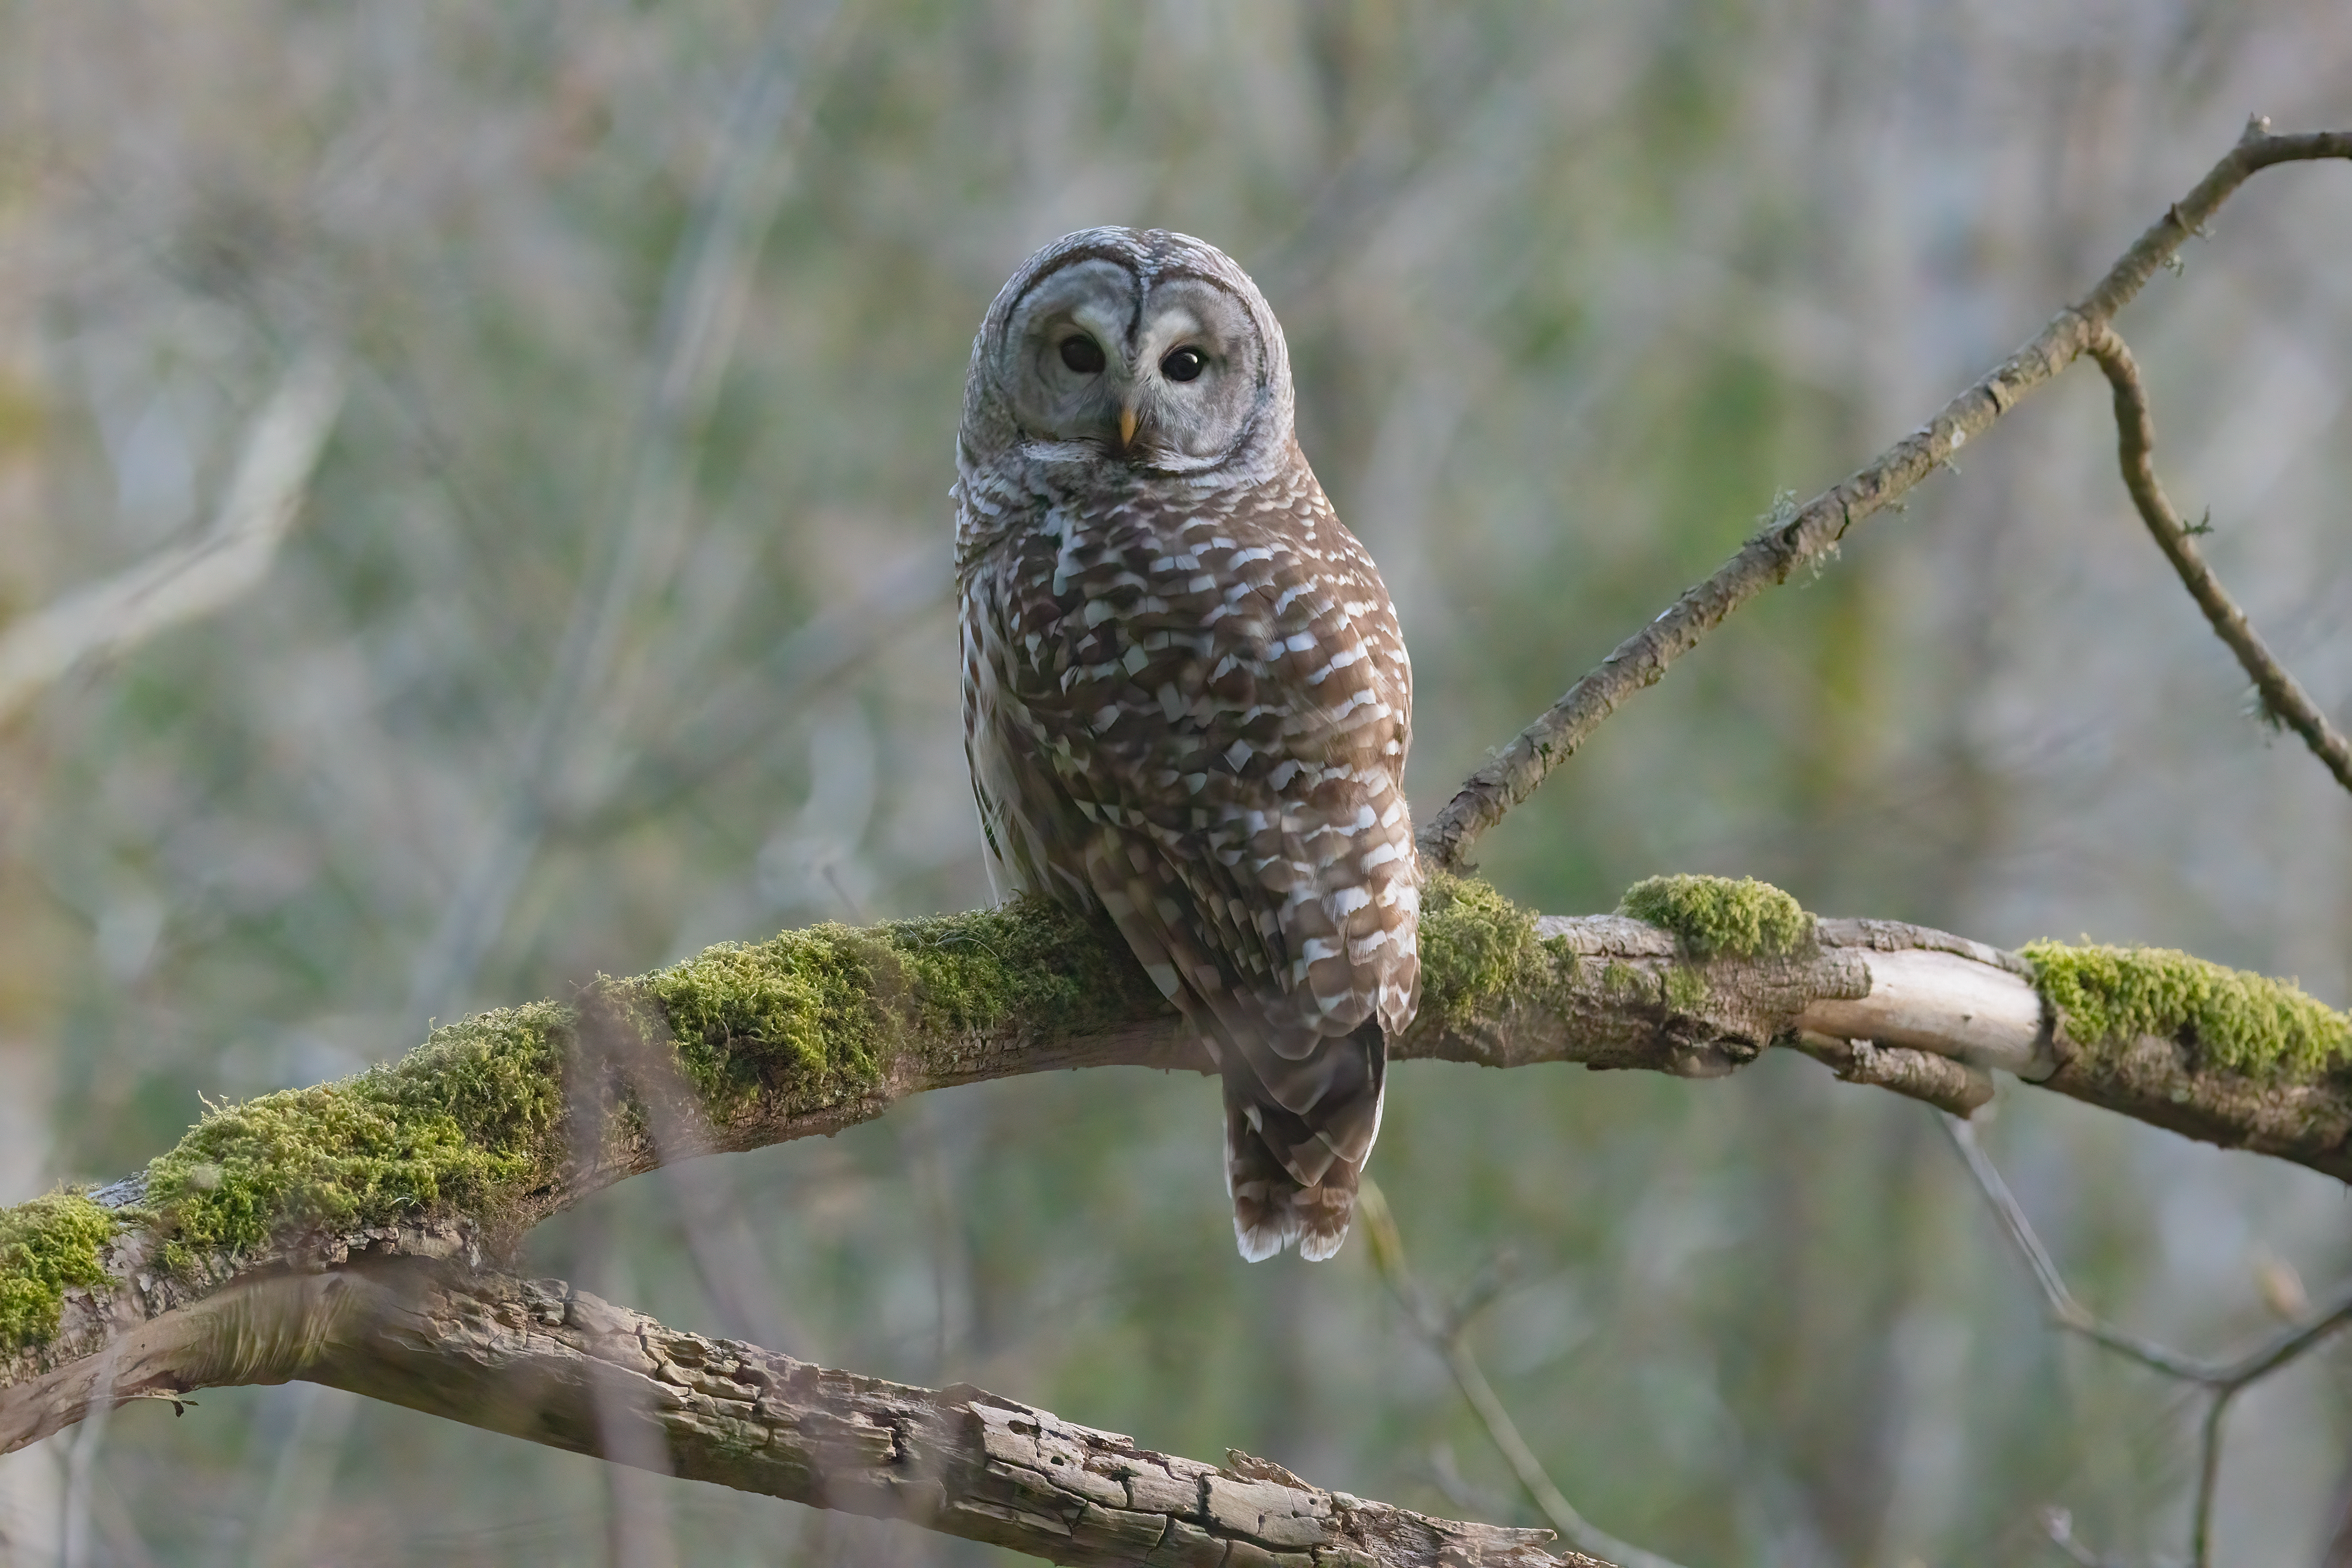
Owl photography is one thing almost all bird photographers seem to try at some point or another. But our nocturnal friends don’t always make themselves an easy subject!
When it comes to photographing owls, a general rule is that the closer you are to sunrise or sunset, the greater chance you have of finding the owls in the first place. While you might find them during the day (I have!) it’s not something you can always count on, and if you’re looking for any animal you want to be there when it is most likely to be seen.
For owls, this presents an interesting problem: the conditions where you are most likely to see them are also the conditions your camera is going to hate. So how do people manage to get such great owl photos?
Here are five tips on how to capture your image, and some tips on post-processing!
Know Before You Go: Owl Photography Ethics
It is important to always be respectful of wildlife when photographing them. The shot is not everything, and if you miss your chance, you will have others. Read these tips from Birds Canada before you go looking for owls:
- Watch owls quietly and from a distance.
- Never disturb roosting birds.
- Don’t linger for too long! Move on if:
- If the owl is constantly looking at you
- Its behaviour seems to have changed since you arrived
- Never play owl calls to attract them
- Never bait the animal with mice or other prey
- Never use flash or any other type of lighting
- Do not pursue the owl after it has left
- Be discreet: never share the location of an owl or its nest
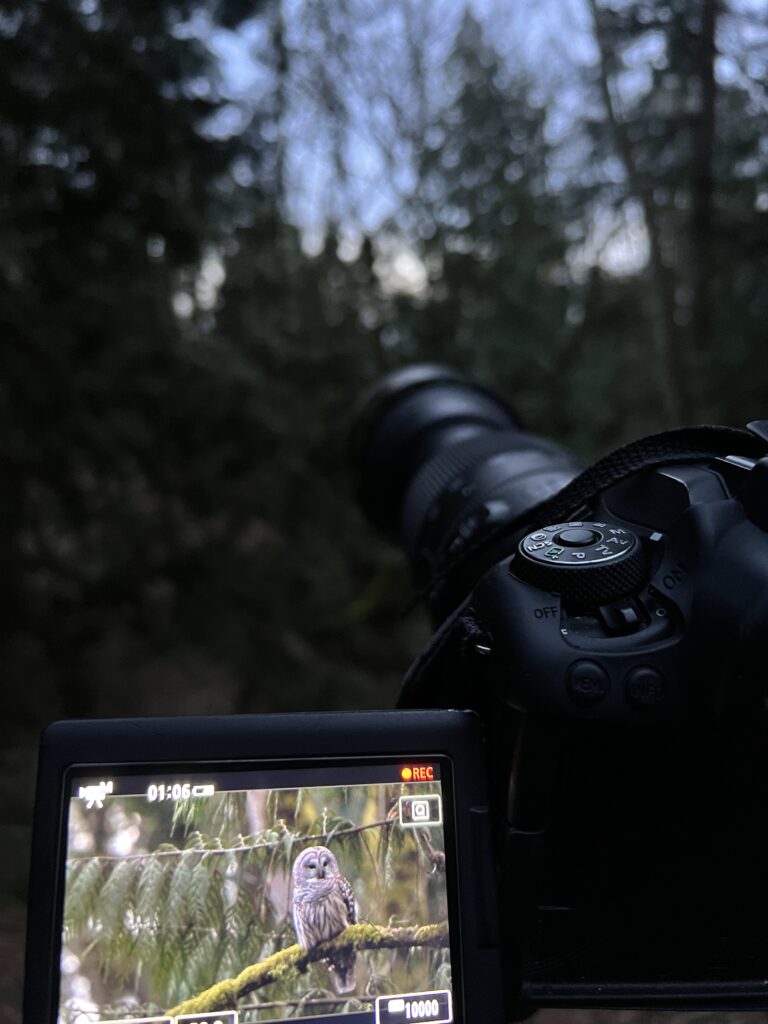
1. pack a Tripod
The tripod is the key to getting any decent owl photos, so if you don’t have one, get one! The tripod will keep your camera steady while your shutter is open for extended periods of time (see step 3!). Without it, your photos are going to come out blurry. Plus, if you’ve ever held up a 600mm lens for an extended period of time, you’ll really appreciate having a tripod to do the work for you.
2. Make Sure Your File Type Is Set To “RAW”
Shooting in a RAW format is a total game changer and an absolute necessity for any type of photography. RAW differs from JPG in how the camera handles the data from the image. When you shoot in JPG, your camera processes and compresses the image data and saves it. In RAW the data is not processed or compressed, so more data is included in the file.
Adobe makes understanding the difference easier with this quote:
“A raw file contains the ingredients to make a specific meal that you can prep however you’d like, whereas a JPEG is that meal already cooked, and there is less flexibility in how you can modify it.“
— Adobe
Check out the before and after on these owl photographs to see the power of shooting in RAW:

It’s important to note that in order to use a RAW file, you will need some kind of post-processing software such as Photoshop or Lightroom.
3. Shoot with a decent ISO and a low shutter speed
When dealing with low light situations, we need to compensate wherever the camera can. So I like to bump my ISO up (but not too high!) and drop that shutter speed low. I keep my aperture at f/6.3 (the widest my Sigma lens allows). Normally with birds, you want a fast shutter speed to capture them before they move on, but owls have a tendency to sit still for long periods of time, which gives the photographer the opportunity to leave the shutter open longer, letting more light in.
When shooting with a lower shutter speed, you have to consider the camera shake, even when using a tripod. There are two ways I get around this:
Use A Timer
Many cameras have a built-in timer function, meant for making a mad dash from your camera to where you need to be in the photo. In owl photography, this can be used to give your camera some time to settle after you press the shutter (or tap the screen, if your camera has that function). I usually just use a 2-second timer — owls don’t always move much, but I don’t want them to have the chance to move before I can get my shot either. This is usually enough time for the camera to settle after I tap the screen on my camera to take the photo
Use a Remote
Many cameras are Wifi or Bluetooth-compatible now, allowing you to use your phone as a remote. There are also after-market remotes, but I don’t have any familiarity with them so cannot speak to them.
Remotes are a much better way to go over using a timer since there is no delay in you “hitting the shutter button”, which we can’t avoid when using the timer. With my Canon 90D, I am also able to adjust the camera settings from my phone, adapting the settings for changing conditions.
4. The Shadows/Highlights Adjustment Is Your Friend
The best tool I have in my Photoshop arsenal is the Shadows and Highlights adjustment tool, found under “Image” > “Adjustments”. I have found this adjustment layer to be one of the best ways to bring back detail in your highlight and shadow areas, and in owl photography, there are a lot of shadow areas!
To use this, duplicate a new layer from your original layer so you have a place to make your adjustments. This way if you make mistake you can just delete the layer. Next open the Shadows/Highlights tool (again, under “Image >Adjustments”), and make sure “Show More Options” is selected. This will show the Tone and Radius tools.
- Amount: How much of the shadow/highlight to bring out
- Tone: Decide which shadows/highlights to bring out
- Radius: Determines which shadows/highlights are present by analyzing the neighbouring pixels. If you’re not careful with your radius you can end up with a halo effect.
Play around with the sliders until you find a look you like.
5. Use Topaz DeNoise AI
This is not an ad — I just like Topaz! As part of all my workflow on images, I use Topaz to help make things look crystal clear and sharp, and when it comes to low-light owl photography it’s a key step. After bumping up the brightness of your RAW image you’re bound to have some graininess. This may be your style, and if that is, great, keep it in! But if it isn’t, Topaz can help clear that right up.
Like this post?
Thanks for reading! You can support me in making more posts like this by buying me a coffee, visiting my store, and subscribing to my newsletter.